


 COMPOSTING
As we mentioned last time, good soil is so important! It’s what feeds your plants and gives them the nutrients they need to grow.
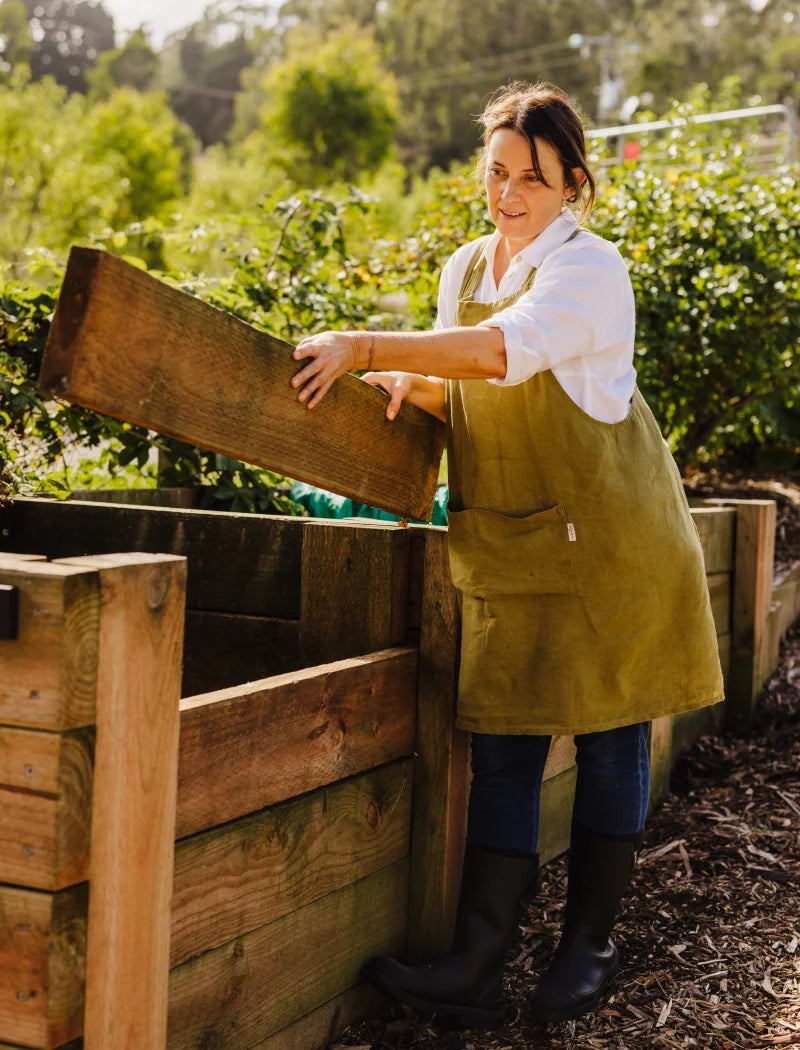
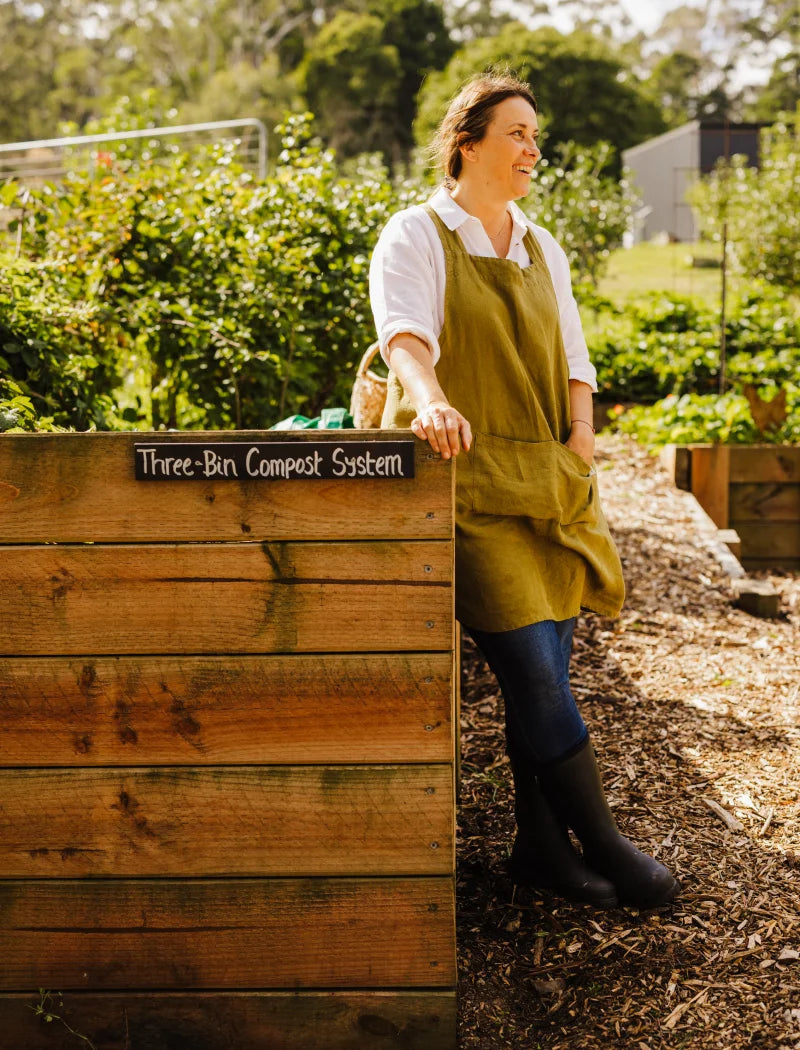
So, first things first, once you’ve established your garden, start building your composting area. Any waste from the garden, food you consume in the kitchen or leaves you have piling up in your driveway can go straight in there. Kristy’s composting is based on a 3 bin system which takes about 9 months to fully compost. However, it’s just one of the ways to compost, so if this one doesn’t suit your needs, there will be another method that does!
Here’s how it works:
Step 1The first step is all about balancing the carbon and nitrogen in your compost. As a general rule of thumb, carbon is brown and nitrogen is green. It’s good to have a roughly 50/50 split of both of these components.
Chuck it all in and wait!
Examples of carbon/brown waste: straw, shredded paper, brown leaves, coffee grounds
Examples of nitrogen/green waste: kitchen waste (fruit & veg), grass clippings, chicken manure
Meat cannot be composted and it’s best to avoid adding highly acidic food, such as tomatoes or citrus, in as well, especially if you have quite a small composting bin.
Step 2
Layering with straw and coffee grounds
Water between each layer to keep in a level of moisture, cover with a tarp so that core temp stays high
This stage breaks down seeds and disease
Soil starts to break down
All of the effort should go into your soil to give you a good foundation
Step 3
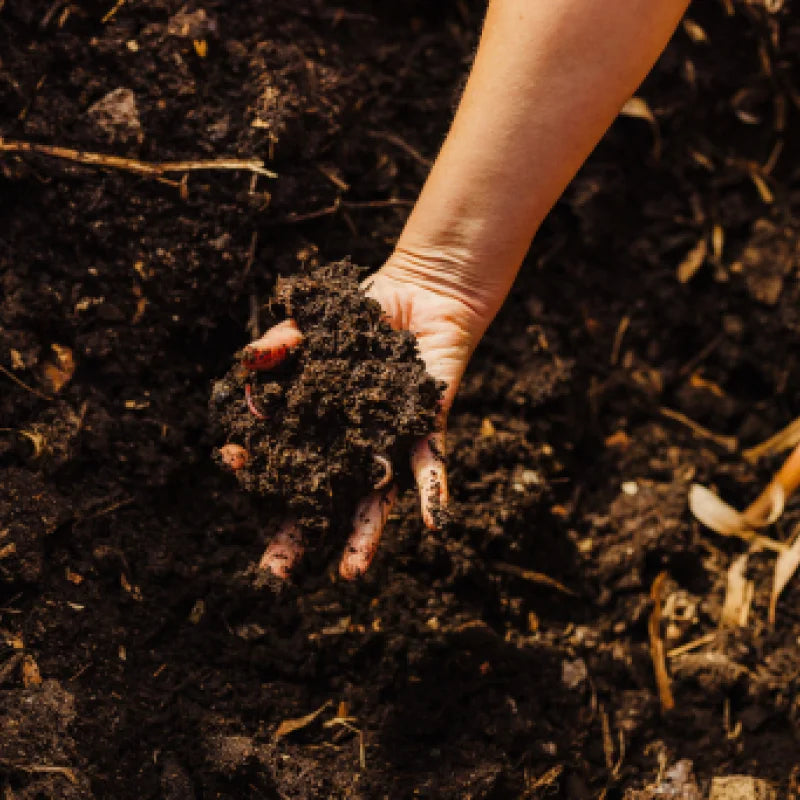
Your compost should be looking a lot like soil now! If your compost is full of worms and has no smell it means it’s healthy soil - well done!
Remove any large objects that haven’t broken down, like stones or sticks, you can leave egg shells in there, and you have a huge pile of nutrient dense soil that your plants will absolutely love.
 SEED SAVING
Let’s start thinking about our next round of planting. First, think about planting pollinator plants to attract bees and insects. They’re welcome additions to any garden and the bee community will thank you for it! Some of the best plants to attract pollinators include lavender, sunflowers, daises and dandelions.
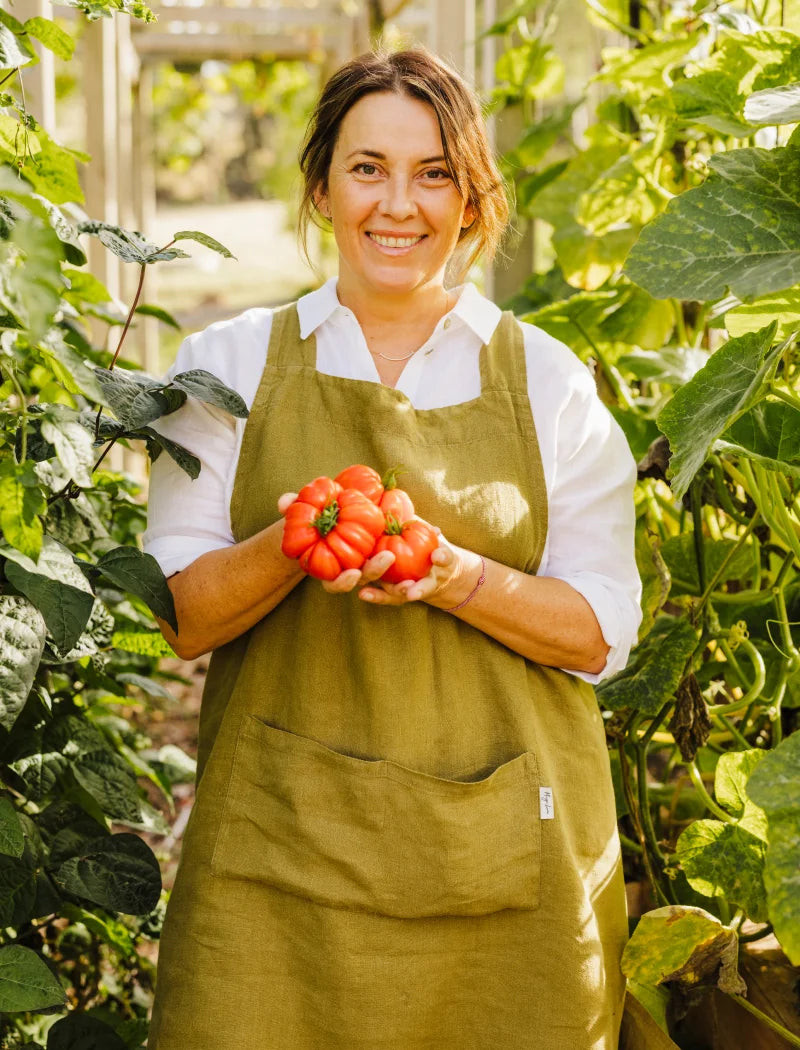
Next, looking at your garden, what fruits and veggies did you really enjoy. Was there anything in particular you wanted more of? Or anything that worked particularly well? If there was, seed saving is a great way of growing what you loved again and again.
During our visit to Green Hills Farm, we seed saved some rouge de marmalade tomatoes, but you can do it with so many other vegetables! Runner beans, peas and capsicums are great options.
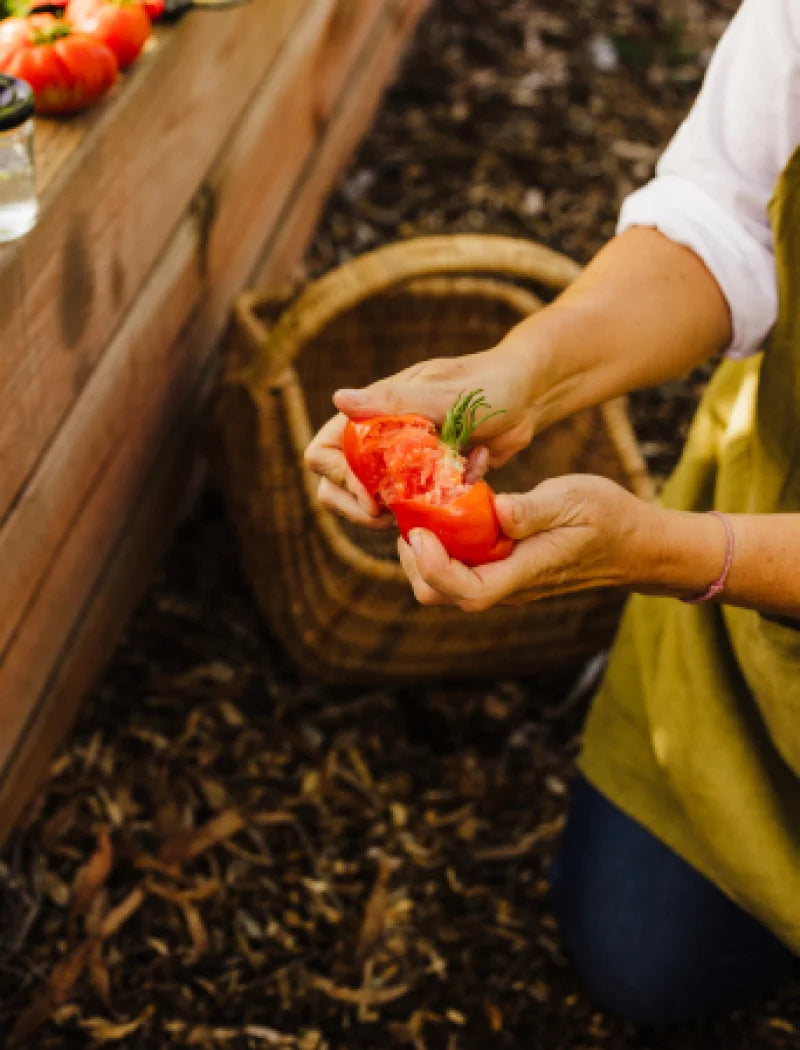
Here’s step by step instructions for seed saving tomatoes:
- Split the tomatoes in half
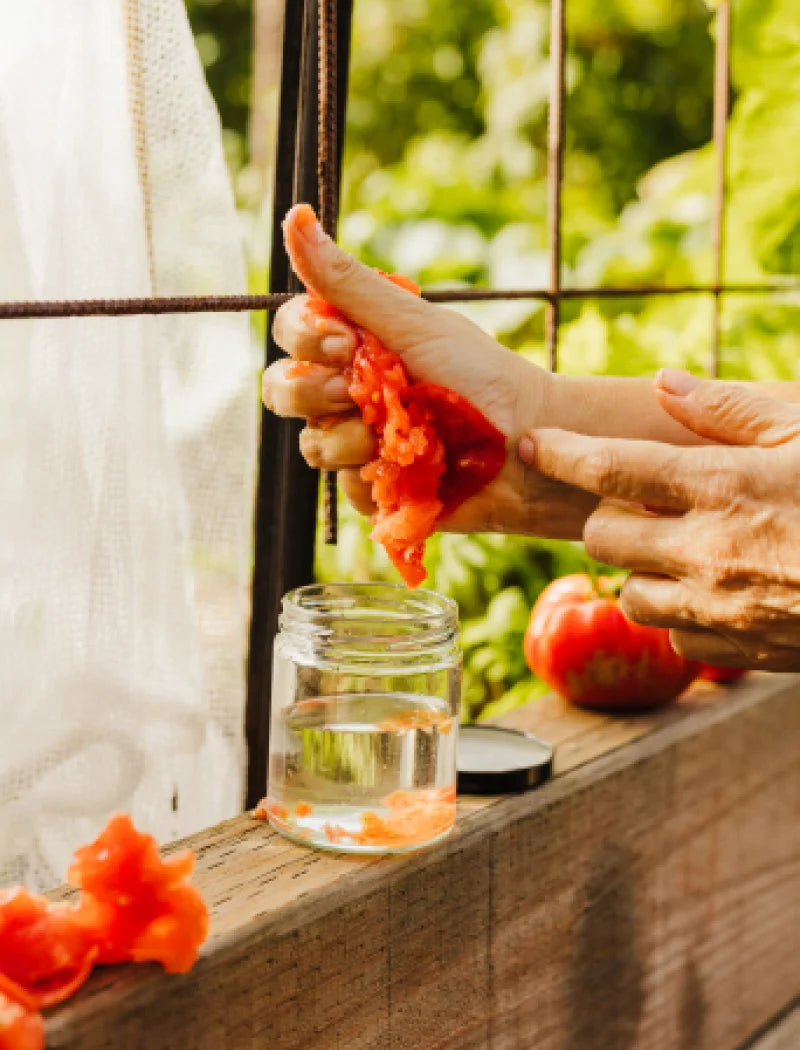
- Squish the seedy pulp into a jar of water
- Shake in water and ferment 24 - 48hours to clean the pulp
- Strain the pulp through a sieve
- Dry on paper towel
- Plant the entire paper
- Dried seeds last 2-4 years
Don’t throw the excess pulp or remaining skin away! You can cook the remainder in a sauce or fry off with some herbs for a delicious toast topping.
Handy tip from Kristy: “Don't save courgette, pumpkin or cucumber seeds as they're cross pollinators”

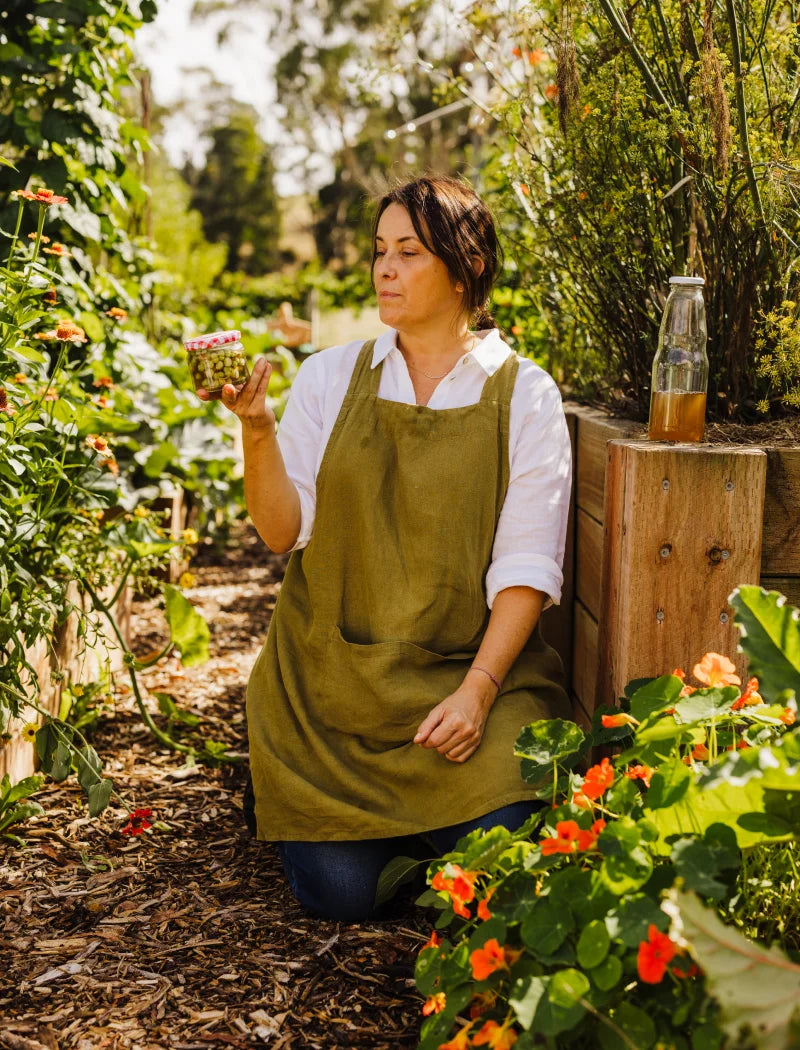
NASTURTIUM PICKLING
Nasturtiums are easy to grow and are a great addition to any garden. They actually thrive better in nutrient deficient soils and will produce more flowers than if they are in rich, well- fertilised soil!
As well as being easy to grow, nasturtiums are incredibly versatile and can be eaten in many different ways. Mustardy in flavour, the leaves are a great addition to any salad and the edible flowers will look beautiful on top of some homemade biscuits.
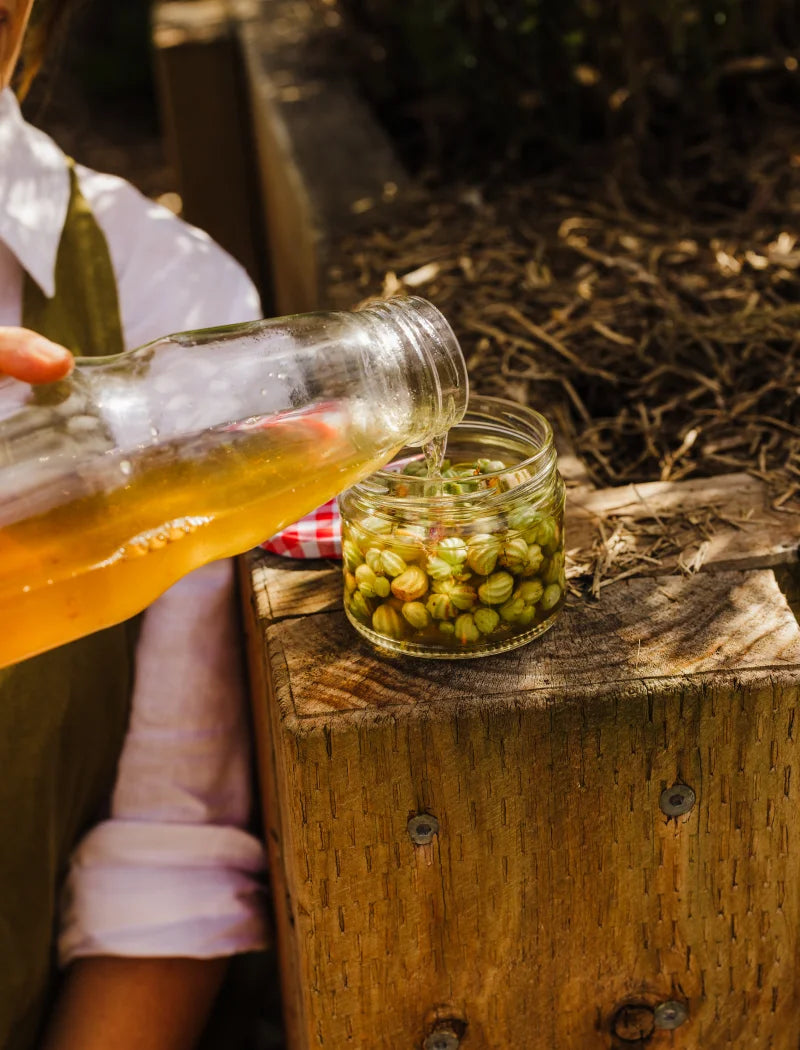
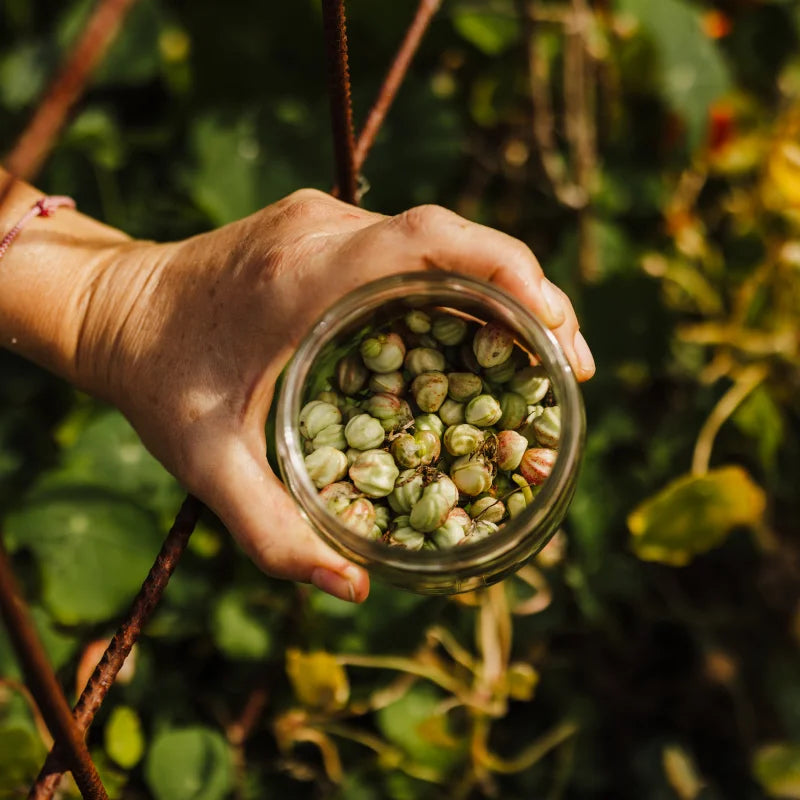
Don’t forget the seeds, usually discarded, these seeds are actually bursting with flavour. Best pickled, as the vinegar pickling balances the intense mustard flavour, they will keep for months and will add a punch to any meal. Kristy’s preference is to top creamy curries with these for
How to pickle nasturtium seeds:
- Collect enough seeds to fill ¾ jar
- Pour apple cider vinegar into the jar to cover the seeds all the way to the top
- Leave to ferment for 5-7 days,
- Enjoy!
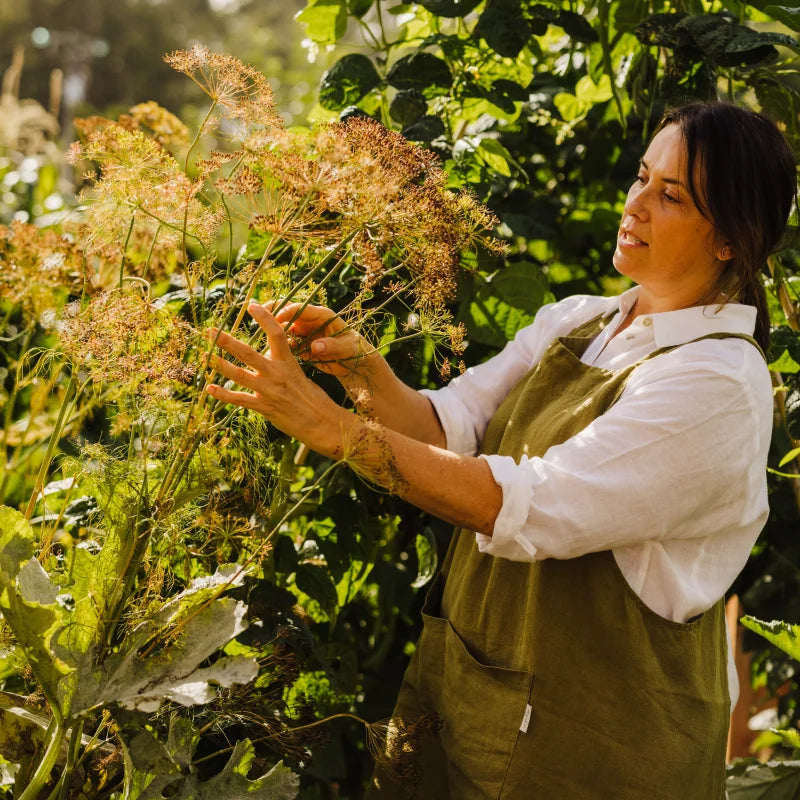
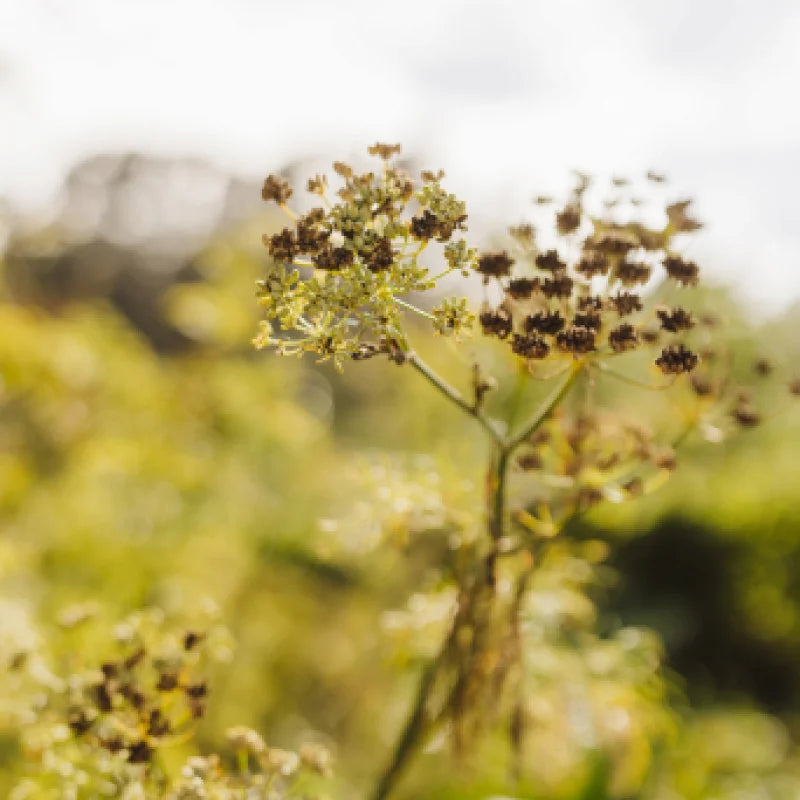
FENNEL
Another crop that’s easy to grow is fennel. Even more versatile than nasturtium, fennel matures in 60-90 days and you can eat the bulb, leaves and seeds.
With a slight aniseed yet sweet flavour, fennel seeds lend themselves to a delicious herbal tea. Either pick them straight from the plant, squeeze them a little to release their flavour and pour boiling water over the top for a nice soothing tea. Or, cut off a head of fennel, put a bag over the top, and leave to dry upside down. That way the bag will catch all the seeds for you!
The bulb is versatile and can be sliced and put into salads or quartered, roasted and served on the side of a warming dinner.

COURGETTES & PUMPKINS
Lacking space in your veggie garden? Two crops that are easy to grow upwards, either on stakes or on a trellis are courgettes and pumpkins. Despite the weight of the fruit, both can be very successfully trained to grow vertically, saving you space in your garden and creating shade for other smaller plants.
These plants grow in abundance so if you’re struggling to know what to do with your heaps of courgettes and pumpkins, here are some ideas:
- Courgette cake - similar to a carrot cake, just substitute the carrot for grated courgette
- Courgette slice for a light lunch (you can substitute the eggs for chickpea flour)
- Summer risotto with courgette, peas, lemon zest, mint and some good quality pecorino
- Roasted courgette or pumpkin topped with lemon zest and goats cheese
- Mashed pumpkin to top off a seasonal pie
- Warming pumpkin dahl
- Breakfast muffins - pumpkins and courgettes would both work perfectly in these!


