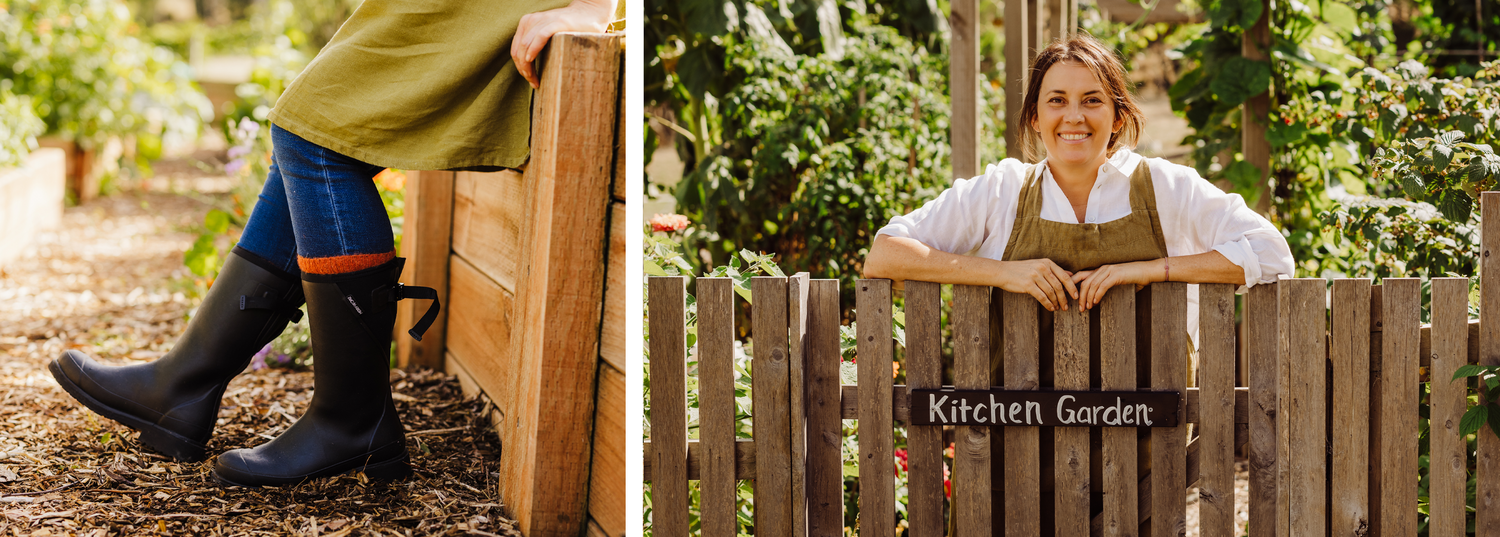
Last month we visited the beautiful world of Green Hills Farm. Situated in West Gippsland, Victoria, Australia, Green Hills Farm was created by Kristy and Neil Plumridge. Two long-time corporate Melbournians (aka people from Melbourne!) who decided to swap the urban life for the luscious, rolling hills of the countryside.
With zero farming experience, the family took a huge leap of faith and decided to buy a tract of farm and bushland back in 2015. The family relied on the knowledge within their new community to help with their adventure, and began by hiring a farmer and involving experts within the local area. They outlined a 10 year plan to create a sustainable, self sufficient, farming lifestyle and wIth patience, a huge learning curve and a commitment to their vision, Kristy and Neil have created a magical space known as Green Hills Farm.
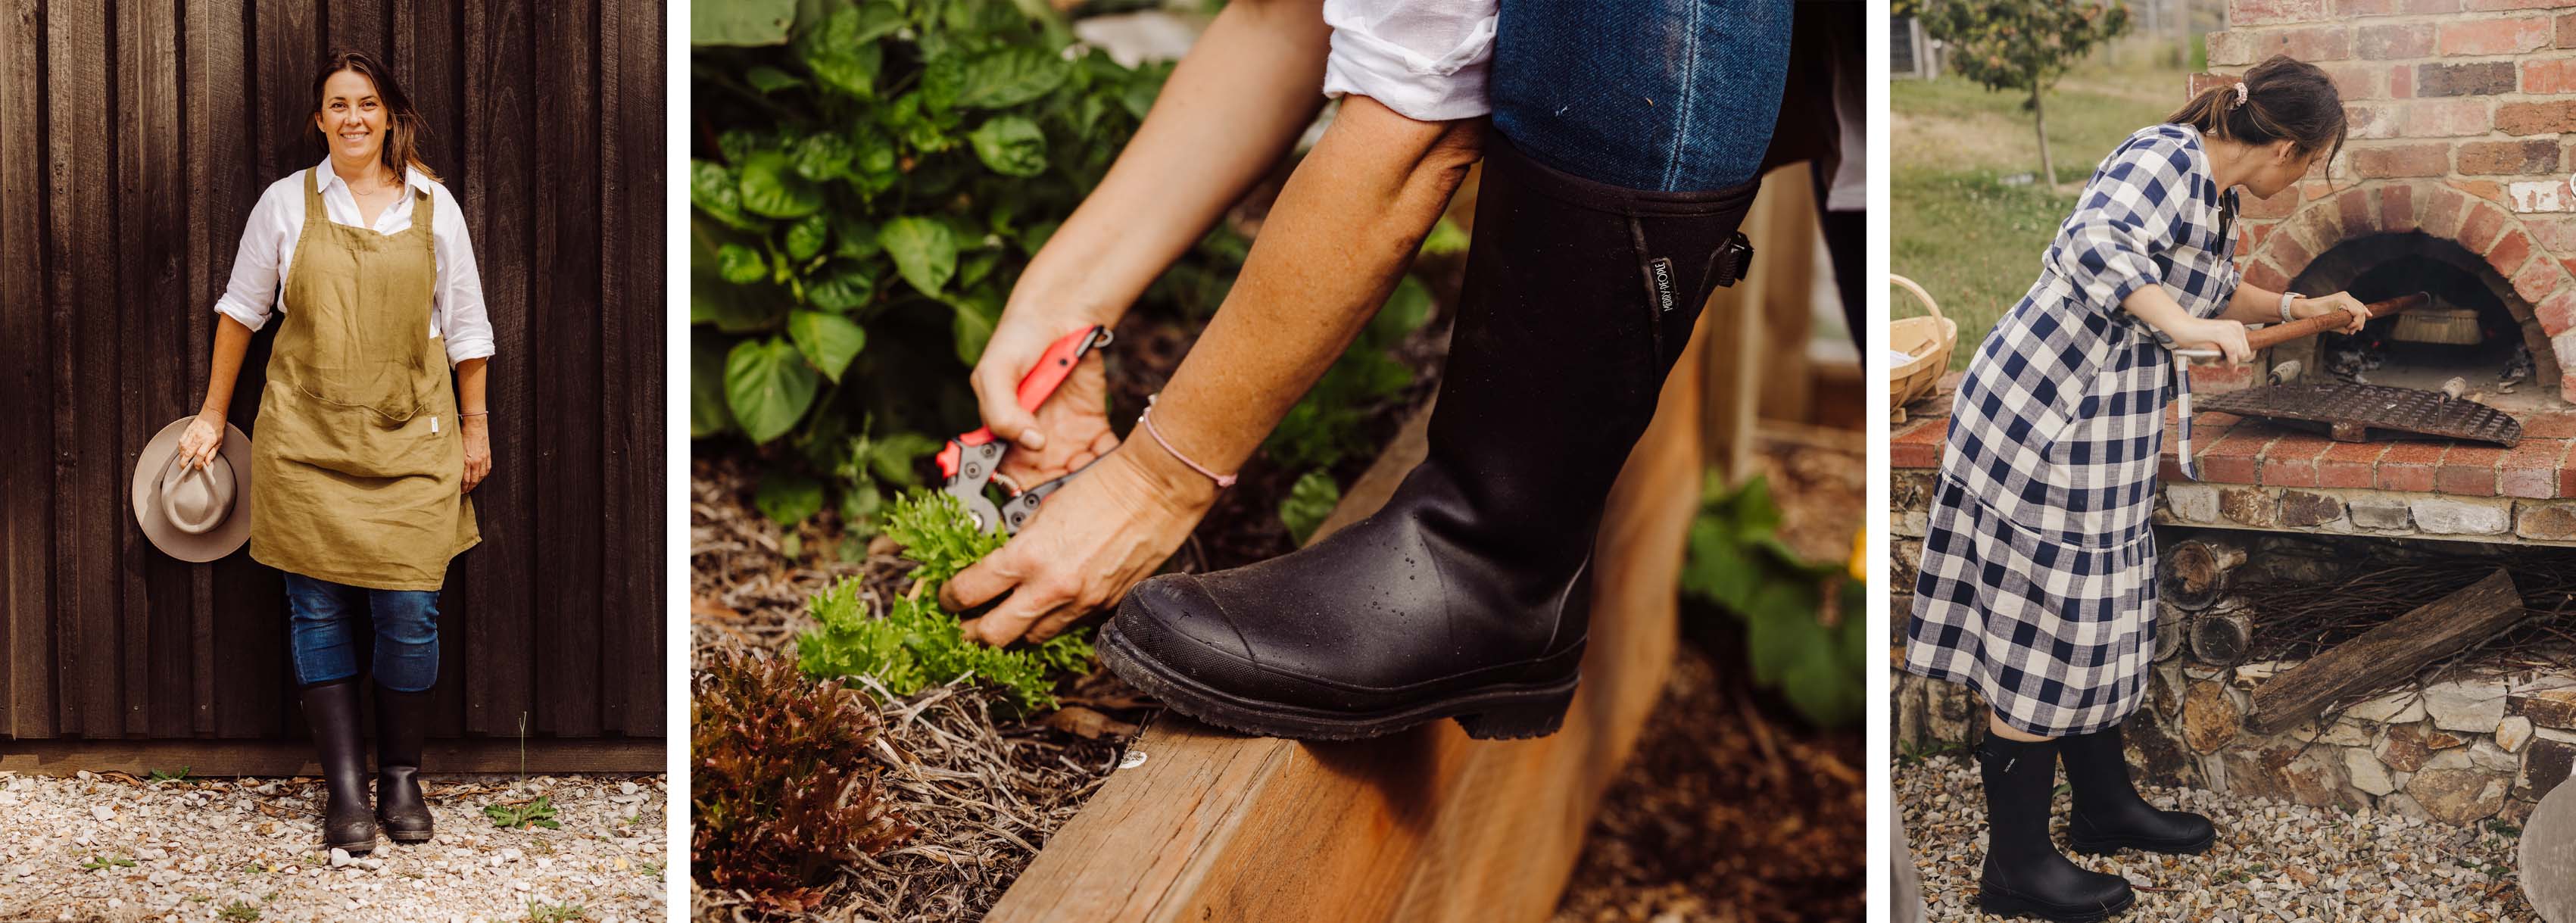
To learn all about establishing and maintaining an organic veggie garden, we spent some time with Kristy who, wearing the trusty Darcy Boot, which will be available in the UK soon, took us around her garden and taught us the ins and outs of establishing and maintaining an organic veggie garden. Keep reading for some of the tips and tricks we learnt about creating an organic garden!

ESTABLISHING A GARDEN
- Start with a master plan! After all, having acres of barren farmland stretching out in front of you can seem a little daunting at times. If you’re unsure, start small. A bed that’s 3x4m is enough and will give you plenty of veggies for you and those around you. Regardless, however big or small you’re wanting your garden to be - start with a plan!
- Next, work with the land you have. Understand the shape of the land, rainfall in the area and weather patterns, knowing this will help when planning the layout of your garden. For example, plant veggies that like the sun on the north side of the plot and if your garden is on a slope, use the gravity to feed water down through the beds on a drip system.
- Soil soil soil! It is after all what gives these veggies life. Healthy, nutrient rich soil is key, so take your time with it. Compost, mulching (especially in summer to keep the moisture in) and bed rotation are just a couple of ways you can help your soil
- Plant what you’d like to eat. After all, there’s no point growing food that you’re not going to enjoy! Think about what you're going to do with the food that you grow and start there
- Protect what you’ve created! Protect veggies that are susceptible to bugs with netting and deterrents e.g. decoy moths and organic snail pellets. Placing jars over the top of lettuces is a great way at protecting your crop against snails and slugs, and also gives a mini greenhouse effect. It’s a win win! Always remember above all, that bugs and pests are all part of creating a thriving veggie garden
Stuck for ideas of what to plant? Start with some of these easier veggies to get the ball rolling….
- Greens - lettuce, kale, silver beat, bok choy
- Root veggies - beetroot
- Beans
- Tomatoes
- Chillies
- Flowers for pollinators like bees and ladybugs
GREENHOUSE
A greenhouse is great to use at the seed stage growth of your garden. The controlled environment and warmth really helps kickstart the growing process!
Start by planting your seeds into nutrient rich soil within polystyrene boxes. The polystyrene retains the heat and moisture in the soil, both needed for the seeds to germinate. Mediterranean veggies work really well within a greenhouse as they thrive in warm environments. So have a go at sprouting capsicums, basil and tomatoes seeds for some easy wins!
Once your seeds have sprouted and are bit more established, it’s time for them to be planted into the ground. First, use a seed blocker to separate your seedlings and then leave the plants outside to climatise to their new environment before planting into the soil.
The fastest growing seeds are bok choy, which can go from a seed to your dinner plate in 6 weeks! Brassicas are the slowest to seed. For these you’ll want to allow them to germinate in the greenhouse in December, plant into the ground in January and harvest mid winter.
If you don’t fancy a greenhouse, seeds can also germinate on your kitchen windowsill!

NITROGEN & BEANS
Once you’ve planted your garden, it’s time to think what nutrients you can start experimenting with to really take your veggie garden to the next level!
Nitrogen is a great nutrient for your plants as it promotes lush growth such as large leaves and thick stems. Readily available in manure and organic fertiliser, it’s an easy one to add to your soil.
If you’re really wanting to boost the nitrogen in your soil, then look no further than your humble beans! Beans have a high level of nitrogen making them an ideal veggie to plant throughout your garden. Plant beans next to veggies that you want to grow big leaves, like basil and kale and avoid planting beans next to plants which you don’t want to have large leaves, such as pumpkins.
Turns out, beans are magic after all!

CABBAGE MOTHS
Pests are common within a garden, particularly an organic one! Although you might think that having pests is bad a thing, it actually means that your garden is healthy. Insects are pretty much unavoidable, so learning to control them is the key!
Let’s talk about cabbage moths, one of the most common pests in the garden world. Cabbage moths love brassicas, so your cabbages, broccoli and kale, they just eat them up!
There are a couple of things you can do to help control the spread of cabbage moths.
First, plant a sacrificial line of veggies. Accept that these will be truly eaten and enjoyed by the cabbage moth and use these sacrificial plants as a point of distraction for your other plants.
Next, once the cabbage moths have arrived, squish the larvae, which are usually on the base of the leaves. Although a little labour intense, it’s a great way of controlling the spread of moths. And finally, net your veggie beds and place decoy moths throughout to help.
But as mentioned before, always remember, pests and insects are all part of it!

Most importantly, don’t give up! You’ll start to learn more about your garden and the way the land works the more you grow. Trial and error is key, let yourself become in tune with the land and enjoy the process!


